


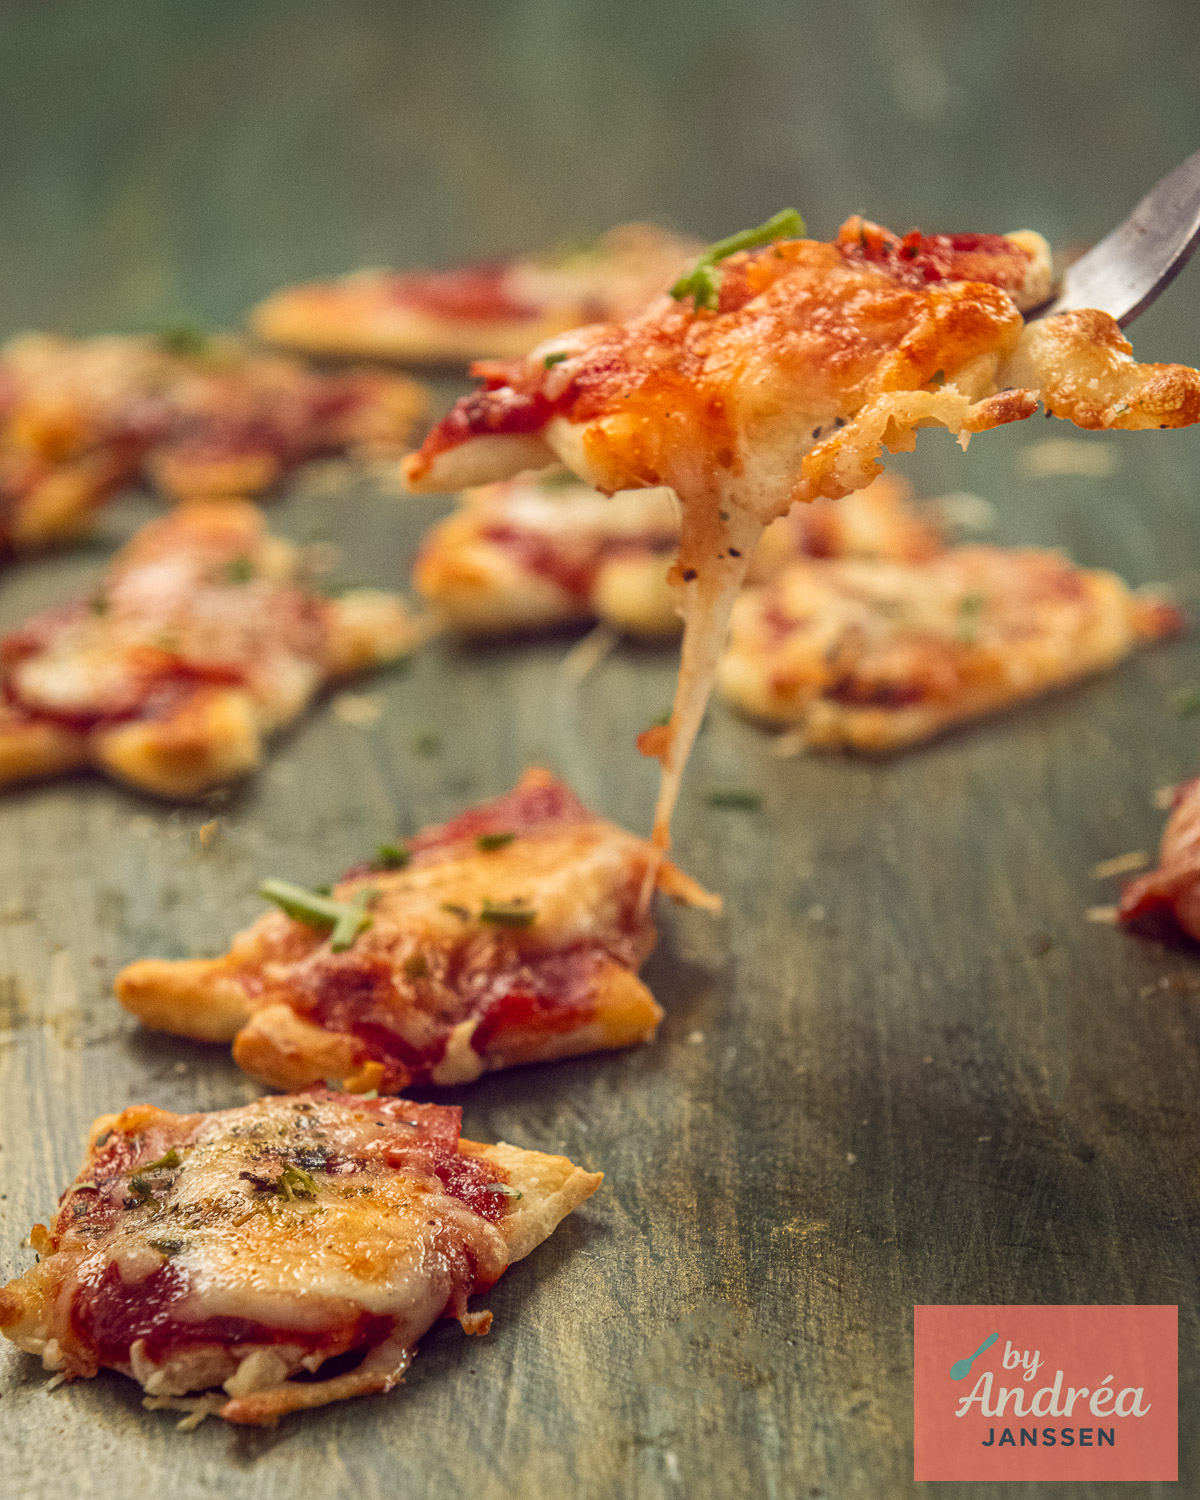
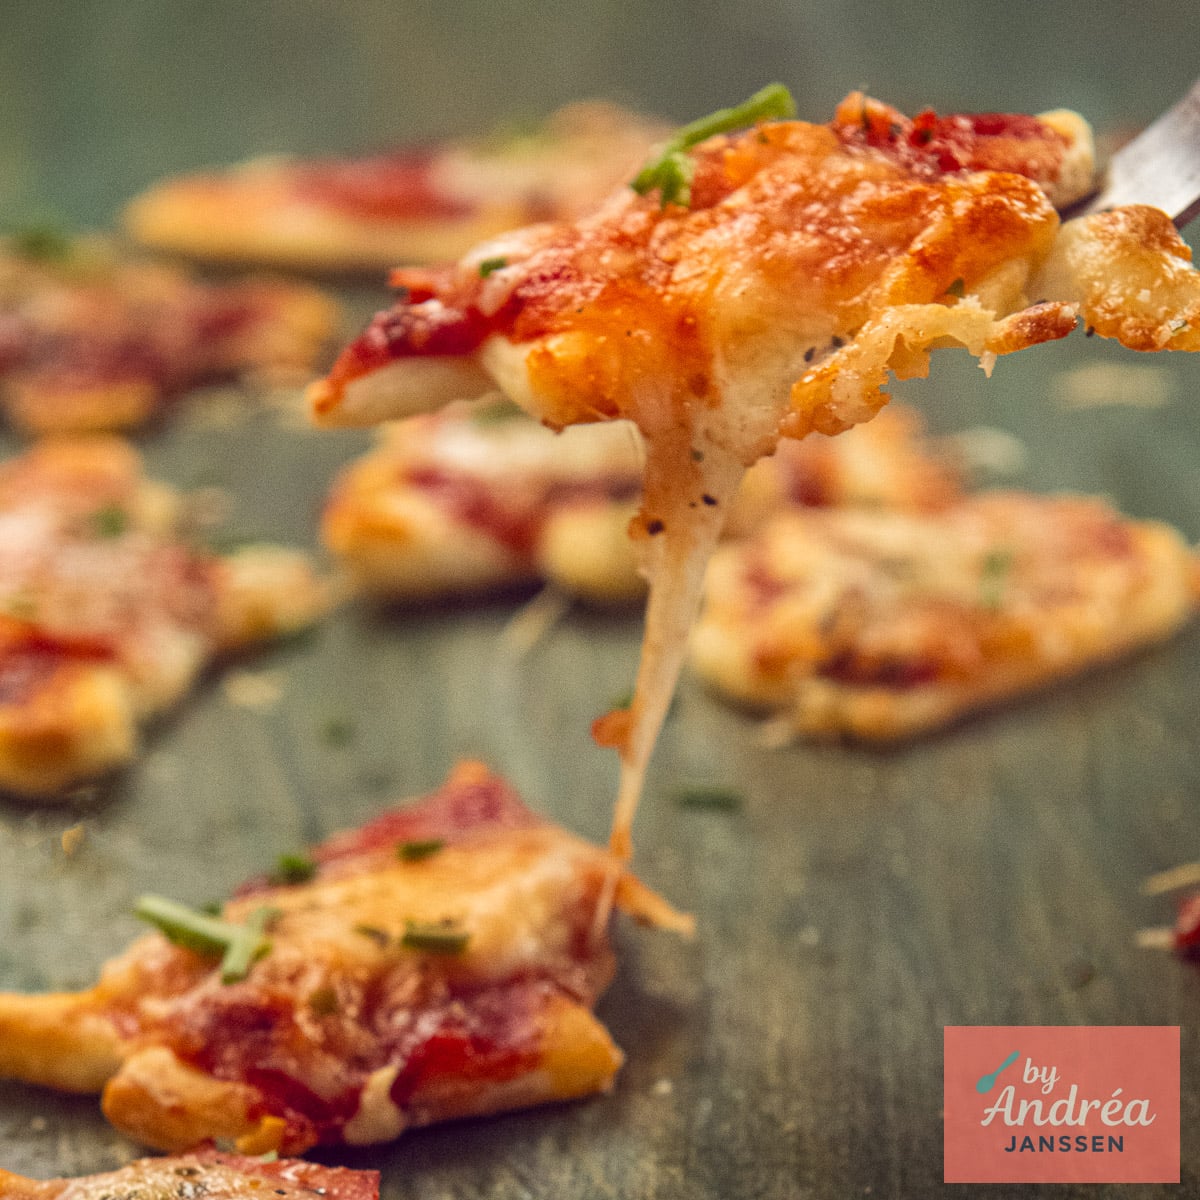
These mini Christmas pizzas with ham and cheese are the reason I stopped stressing about the kids' Christmas menu. I bake a batch weeks ahead, freeze it and on the actual day, You don't have to cut dough or hunting for cookie cutters, you're just pulling the pizzas out of the freezer and putting them into the oven.
No soggy, collapsed shapes either: a short preface sets the crust before the sauce goes anywhere near it. So every tree, star and bell keeps its form. And all you need is refrigerated dough, ham, cheeses and some herbs. No kneading, no rise time and no flour all over the kitchen floor. This is the one Christmas prep I make first, every single December.
Jump to:
Why Make This?
When our children were little, they didn't always want to eat the same Christmas dinner as the adults. Fancy appetizers, large roasts and rich side dishes weren't their idea of a treat. And to me, Christmas is all about enjoying time together around the table. So I created a special Christmas menu for them filled with dishes they already loved. Even better, I chose recipes that I could prepare ahead of time.
About three weeks before Christmas, the kids and I made a double batch of these mini holiday pizzas. They helped cut out and decorate the pizzas, which was part of the fun. We called it our Christmas test kitchen because we testing the recipe for the grown-ups too. After baking, half of the pizzas went into the freezer and we ate the other half right away. The kids thought that was an excellent deal and so did I.
Cutting out the shapes takes a little care. Press the cookie cutter all the way through the dough. This makes it much easier to move each pizza to the baking sheet. And don't worry if the shapes aren't perfect. Once you add the ham and the melted cheese, nobody is going to inspect the branches on your Christmas tree.
With refrigerated pizza dough and simple grocery store ingredients, you can make a festive treat without kneading a single piece of dough. Ham, mozzarella, Parmesan and oregano give these little pizzas that familiar flavor kids love. Choose any holiday shapes you like. Try Christmas trees, stars and bells or any other festive cookie cutters you have. Arrange a mix of shapes on a large platter and your kids' Christmas dinner will instantly feel more festive.
Ingredients You'll Need
Finely chopped toppings work best for these small pizzas. They stay inside the edges and keep the holiday shapes easy to recognize after baking. Use only a thin layer of pizza sauce. Too much sauce can make the crust soft and hide the smaller details.
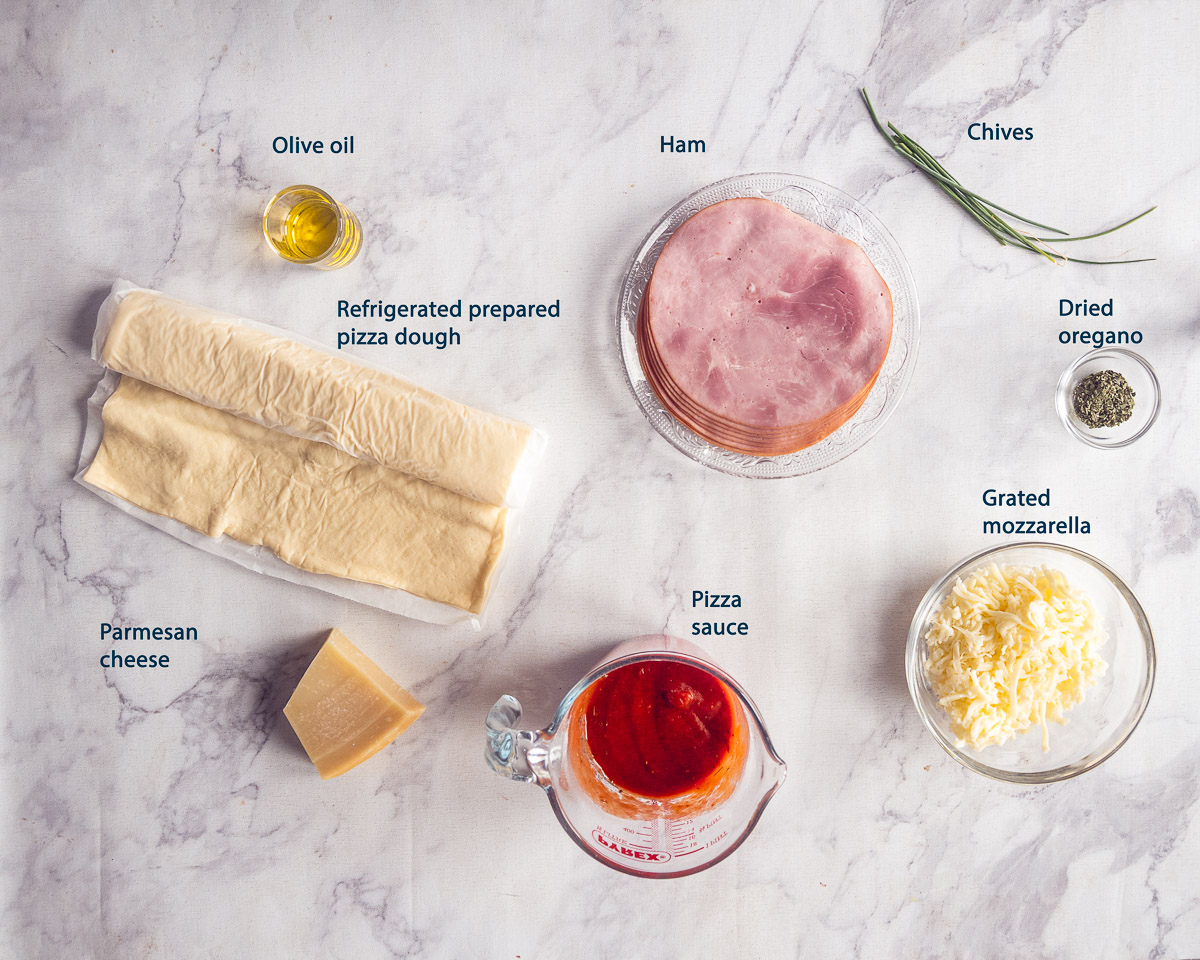
- Refrigerated Pizza Dough: Choose a rolled sheet of fresh pizza dough from the refrigerated section. It is ready to use, so you can start cutting out the shapes right away. If you want you can also easily make pizza dough yourself if you have enough time. This is the pizza dough recipe I always use.
- Pizza sauce: Use a smooth pizza sauce and spread it in a thin layer. Leave the edges uncovered so the shapes remain visible after baking. Or make the sauce yourself quickly and easily with this delicious pizza tomato sauce recipe.
- Deli ham: Cut the ham into very small pieces. This makes it easier to keep the toppings inside the edges of the pizzas.
- Shredded mozzarella: Shredded mozzarella is easy to spread evenly over the small shapes. It also contains less moisture than fresh mozzarella, which helps keep the crusts firm.
- Parmesan cheese: Finely grated Parmesan adds extra savory flavor. Because it is grated finely, you can sprinkle it evenly over every pizza.
- Dried oregano: Oregano gives the pizzas their familiar Italian-inspired aroma. You can use Italian seasoning instead, but the flavor will be slightly different.
- Olive oil: Lightly brush the uncovered edges with olive oil to help them turn golden brown. This step is optional.
- Fresh chives: Sprinkle the chives over the pizzas after baking. This keeps their mild onion flavor fresh and their color bright green.
How to Make Mini Christmas Pizzas
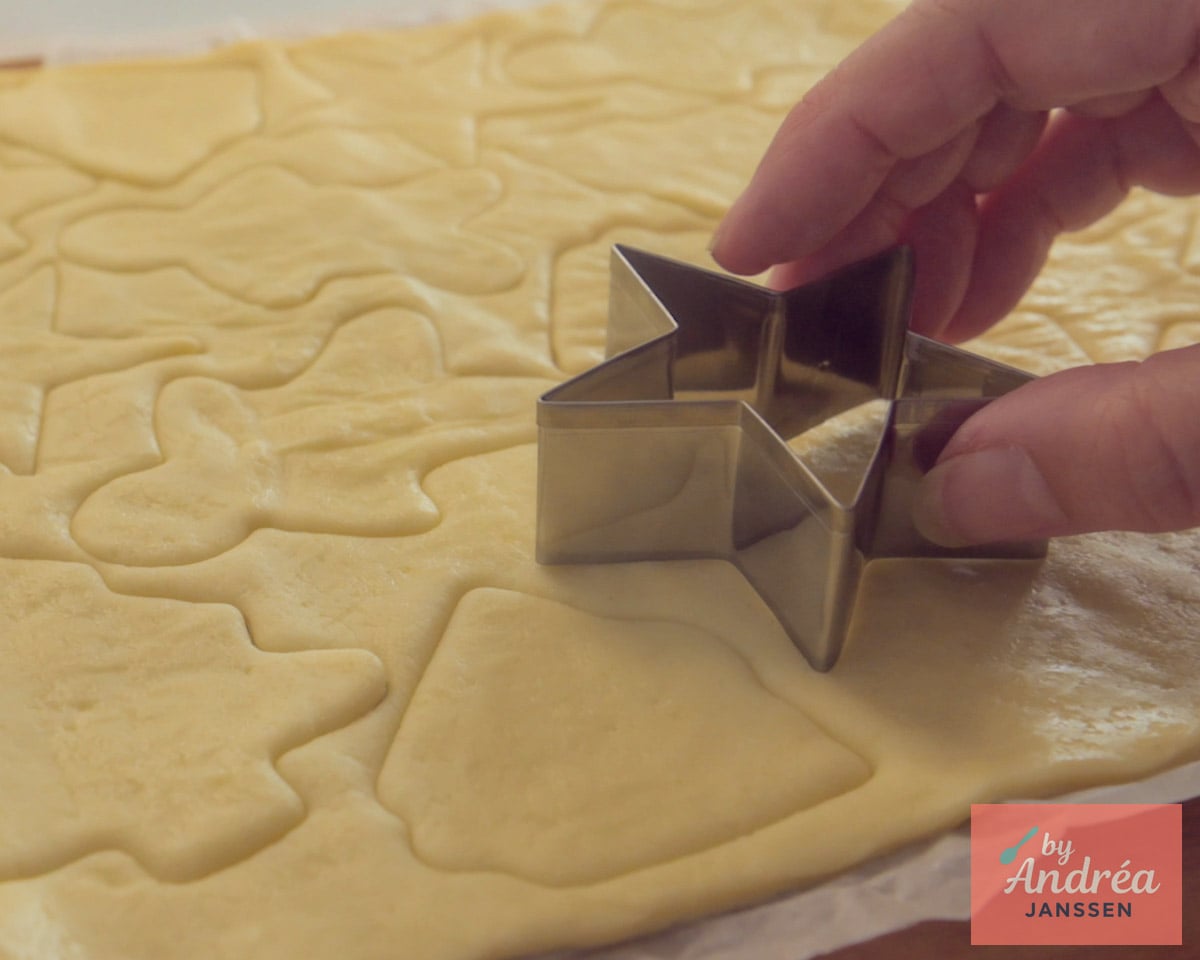
- Step 1: Unroll the pizza dough and cut out your Christmas shapes.
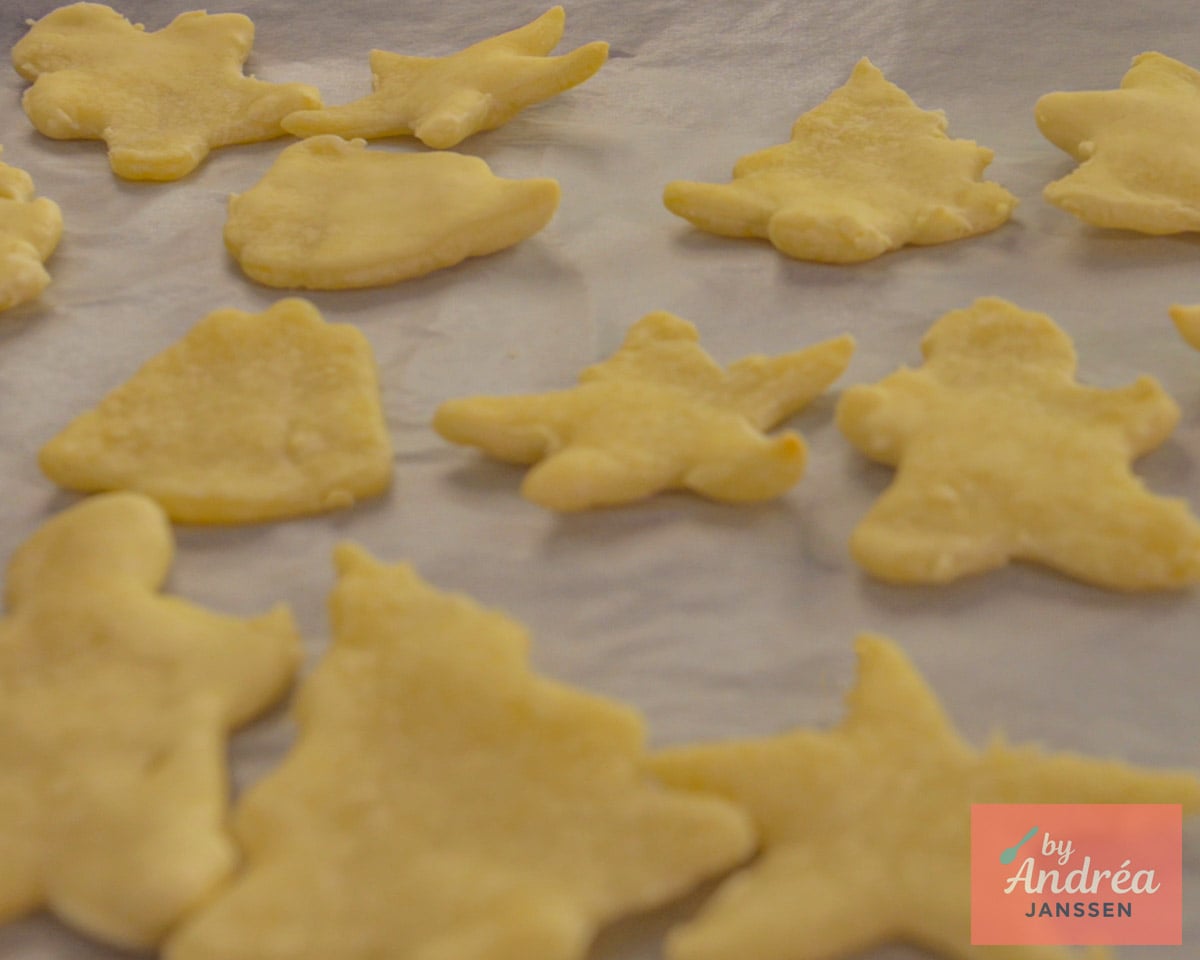
- Step 2: Prebake the plain crusts for 3 to 4 minutes.
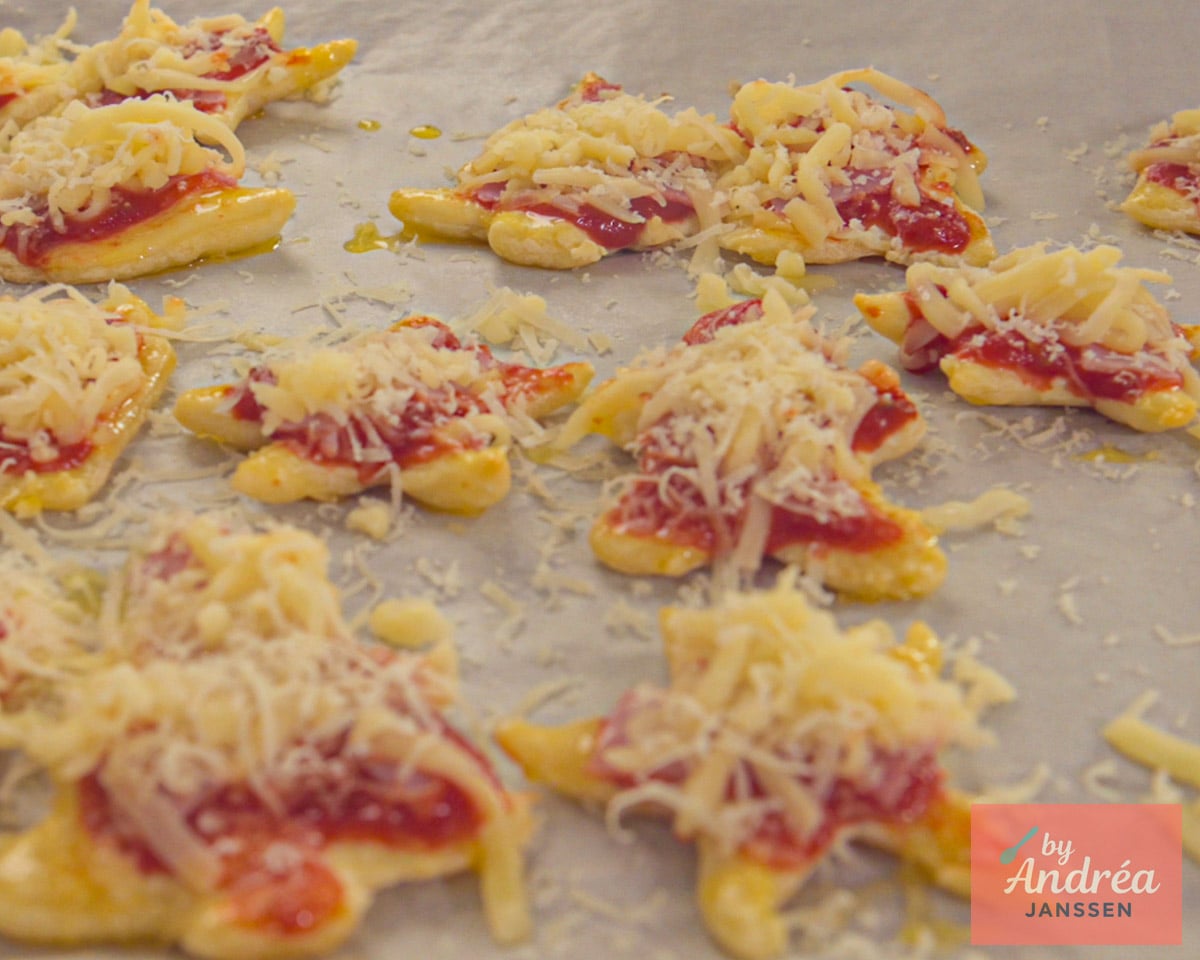
- Step 3: Add a thin layer of sauce, ham, mozzarella, Parmesan, and oregano. Lightly brush the edges with olive oil (optional) and bake until the cheese melts and the crust turns golden brown.
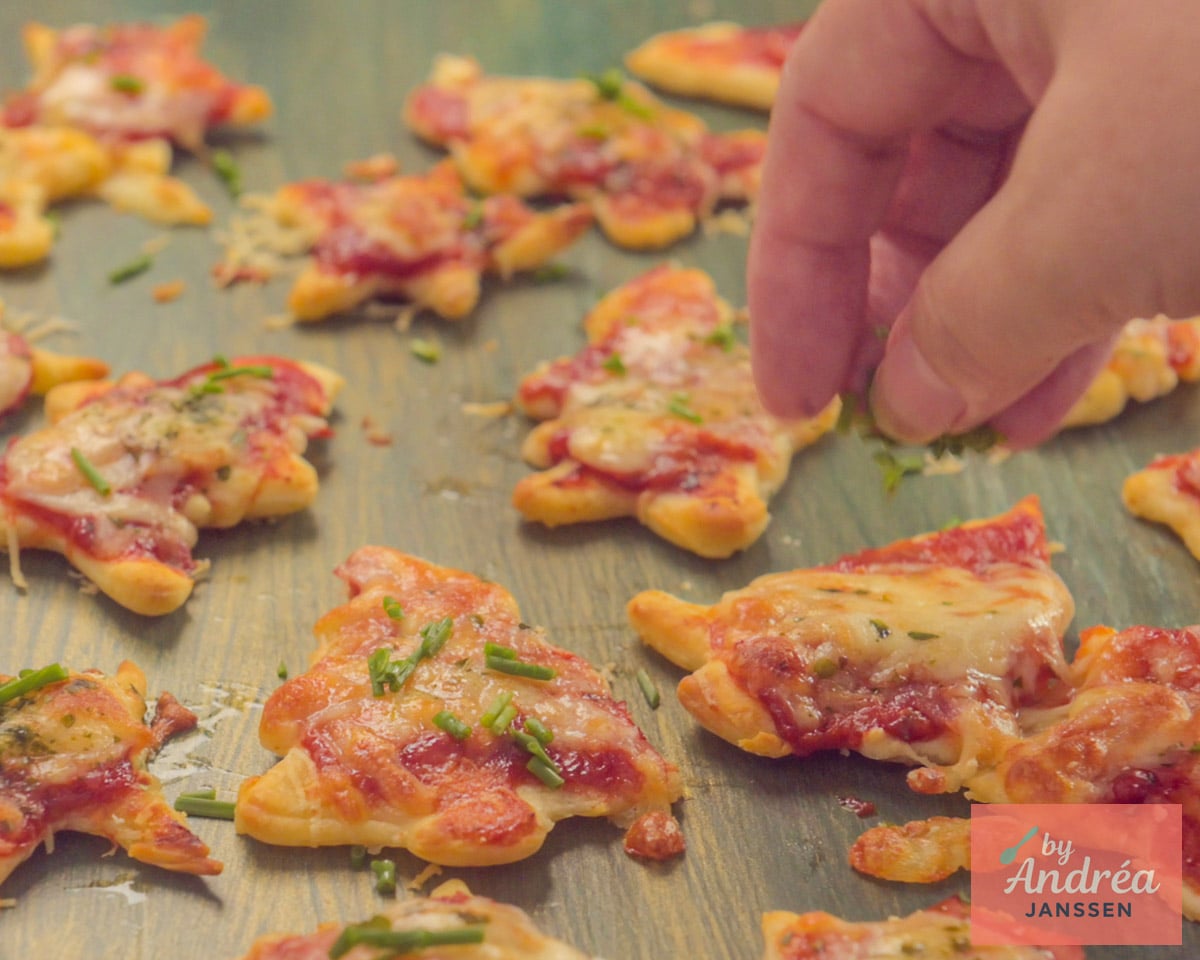
- Step 4: Finish with fresh chives before serving.
Top Tips
- Only reroll the leftover dough once. Repeated kneading and rolling can make the dough tough and cause it to spring back.
- Use cookie cutters that are about 3 inches wide. Smaller shapes leave very little room for sauce and toppings. Thin points can also brown too quickly.
- Move the cutouts with a thin spatula. This keeps the points from stretching and helps the holiday shapes stay neat.
- Chop the toppings very finely. Large pieces of ham can hang over the edges and hide the shapes.
- Keep the toppings light. These mini pizzas need far less sauce and cheese than a full-size pizza.
Serve with
This is part of the Children's Christmas menu that starts with a delicious amuse-bouche with ham and cranberries, the pizzas as a starter, broth with cheese stars as the main course, and a beautiful and delicious Christmas dessert of strawberries for the kids.
Frequently Asked Questions
- Can I use a different meat? Mild deli ham works well for kids, but the same amount of finely chopped salami or cooked chicken breast is a good swap. Salami will make the pizzas a little saltier and richer.
- Can I use fresh mozzarella instead of shredded? Shredded mozzarella melts more evenly and keeps the crust firmer. If you want to use fresh mozzarella, drain and pat it very dry first and chop it small, the crust will end up slightly softer.
- Can I make these ahead? Yes, prebake the plain crusts, let them cool completely, and store them airtight in the fridge for up to two days. Add the toppings and finish baking just before serving.
Did you make this recipe?
So, how did it turn out? Tell me all about it (and a star rating would make my day.)
📖 Recipe
RECIPE CARD

Recipe Help
Two easy tools to make cooking even easier. Cooking mode keeps the screen on. The easy-step recipe displays the recipe step by step, including the ingredients needed. And you can adjust servings easily
Ingredients
- 10 oz. refrigerated pizza dough, (1 roll)
- ½ cup pizza sauce
- 3½ oz. deli ham, finely chopped
- 1 cup shredded Mozzarella
- ¼ cup Parmesan cheese, finely grated
- 1 teaspoon dried oregano
- 1 tablespoon olive oil, optional
- 2 tablespoons chives, finely chopped
All my recipes are written both in Metric (gram / ml) and US Customary (cups / pounds). Here you can select which type of amount you would like to see.
Instructions
- Preheat the oven to
 430 °F conventional oven or 400 °F (convection oven). Line a large baking sheet with parchment paper.
 - Use Christmas cookie cutters that are about 3 inches wide. Smaller cutters do not leave much room for the toppings. Cut stars, Christmas trees, bells and other forms you have from the pizza dough. Press each cutter all the way through the dough.10 oz. refrigerated pizza dough
- Carefully lift the shapes with a thin spatula and place them on the prepared baking sheet. Leave a little space between each one. If the shapes do not fit on one baking sheet, bake them in batches.
- Gather the leftover dough, roll it out one more time, and cut out additional shapes. Avoid rolling it more than once because the dough can become tough.
- Prebake the plain pizza crusts for 3 to 4 minutes. They should look set but should not be brown yet.
- Remove the baking sheet from the oven. Spread a thin layer of pizza sauce over each crust. Use no more than about 1 teaspoon per pizza and a little less for narrow or smaller shapes. A thin layer is enough.½ cup pizza sauce
- Divide the chopped ham and mozzarella among the pizzas. Sprinkle with Parmesan and oregano. Keep all the toppings inside the edges so the holiday shapes remain easy to see.3½ oz. deli ham, 1 cup shredded Mozzarella, ¼ cup Parmesan cheese, 1 teaspoon dried oregano
- If desired, lightly brush the uncovered dough edges with olive oil. This helps them turn golden brown, but you can skip this step.1 tablespoon olive oil
- Bake for another 5 to 7 minutes, or until the cheese has melted and the edges are golden brown. Check the pizzas regularly after 5 minutes because narrow points can brown quickly.
- Let the mini pizzas cool for 5 minutes. Sprinkle with fresh chives just before serving.2 tablespoons chives


Notes
- Deli ham is a good choice for children. You can replace the 3½ ounces of ham with the same amount of finely chopped salami or cooked chicken breast.
- Salami will make the pizzas a little saltier and richer.
- Whichever meat you choose, spread it in a thin layer so the Christmas shapes remain visible.
- Refrigerator: Prebake the plain crusts for 3 to 4 minutes, then let them cool completely. Store the crusts in an airtight container in the refrigerator for up to two days. Add the toppings and finish baking just before serving. This helps the crust stay firm and prevents the sauce from soaking into the dough.
- Freezer: Bake the crusts without toppings. Spread the sauce over the crusts, then top with the cheeses, ham and oregano. Place the pizzas in a single layer on a baking sheet and freeze for three hours. Transfer the frozen pizzas to a freezer bag and store for up to one month. Ready to bake? Place the frozen pizzas on a baking sheet and bake in a preheated oven for 10 to 12 minutes or until golden brown and hot.
- Refrigerator: Let leftover mini pizzas cool and refrigerate them in an airtight container within two hours. Store them for up to two days.
- Freezer: Freeze fully baked and cooled pizzas for up to one month. Pack them in individual portions in airtight containers or freezer bags. Thaw the pizzas overnight in the refrigerator. The edges may be slightly less crisp after freezing.
- Reheating: Reheat the pizzas in a 350°F oven for about 5 minutes or until the cheese is hot and the centers are warmed through. For a small portion, warm them in a dry skillet over low heat. Place the lid slightly ajar so steam can escape. This helps prevent the crust from becoming soggy.
Nutrition


Leave a Reply